Startup
The First Month after the Workshop
-
This time has been about getting all the pieces put together.
I had started a ventilation upgrade before the workshop that, as these things
are wont to go, didn't quite get done until I got back. I used to
mix all my own brews, but in recent years I've gotten lazy - liquid concentrates
and less respect for my lungs than is smart. I unplugged the little
darkroom exhaust fan and put in hoods made by Edwards Engineered Products (http://eepjon.com/)
and a 300 cfm fan. And there was fresh air!
-
The only piece of critical equipment that I needed to buy was a
magnetic stirring hot plate. The new, digital models are outside my
budget, but I found a very good, used analog model on eBay. $145.
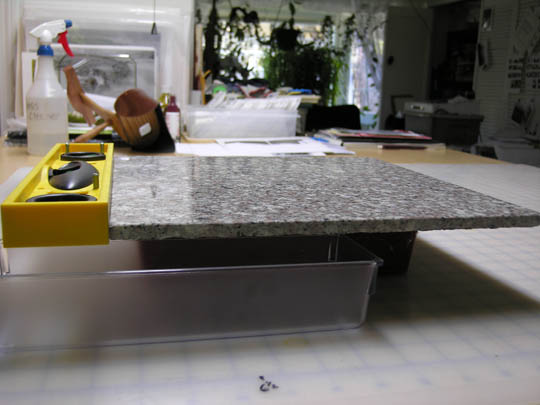
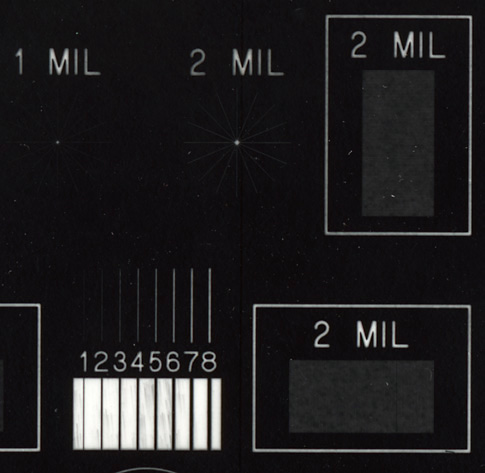
Front view of blade coating platform: Nylon cutting board with level attached
with bolts (removable), feet to raise it high enough for an emulsion overflow
catch tray to fit underneath. The warm granite is placed next to the level
right before coating. |
Bottom: Tray feet attached with screws around the rims and then heavily
sealed with silicone adhesive |
-
While I was waiting for my hot plate, I staged various
workflows. I know myself. If it's too complicated to take up and
down, I'll gradually find excuses to do anything else. (a darkroom
as big as a garage would be nice - the darkrooms at the Formulary could spoil
a person).
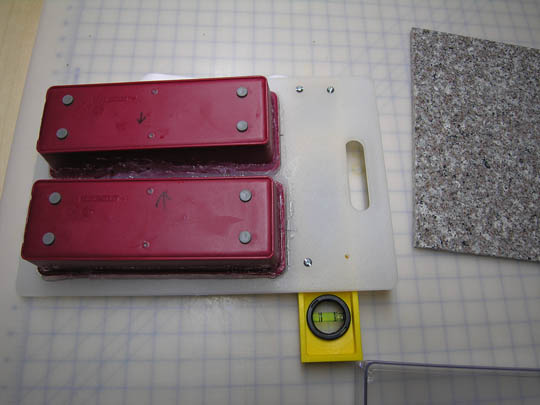
From left: magnetic stirring hot plate and tempering unit set on removable
countertop set over sink, emulsion coating platform,
rack for holding granite and coated sheets until emulsion sets, and under that,
stacked screens for drying paper. |
|
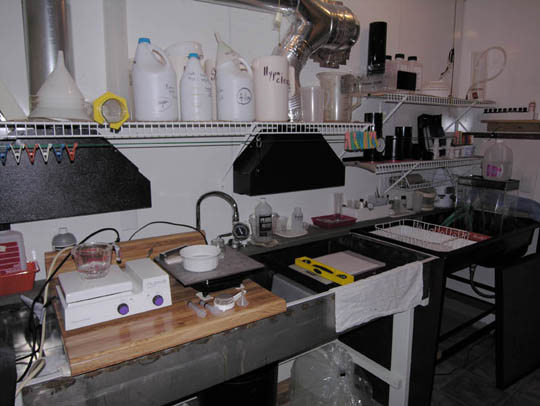
Chemical weighing station. |
|

Granite tiles and buffet warming unit to keep stones at coating temperature. |
|
-
There were misc. calibrations and calculations and, above all, ordering my
workshop notes into something useable. I plan to start with 4 x 6+ inch
size negatives (digital negs from 120 film, made with a Nikon ED 9000 and Epson
2400 printer on Pictorico OHP).
July 21 and 22, 2006 / Lot 1a
Made 1x scale emulsion recipe and did one set (i.e. 1/4 total)
of coatings: Straight from the class notes, with 1 drop surfactant and
6 drops hardener per 50 ml melt. A 4 x 5 coating blade calibrated to 6 mil.
I coated baryta paper (1), Rives BFK-white (2), Fabriano Artisto-x white
(2), Arches Platine (1), and Crane's Cover 90 (2). Total 7 sheets, coated
5 x 8 inches. I started with my standard developer, ZonalPro HQ
(chosen because to doesn't contain Metol (I have become sensitive), very dilute
acetic acid stop bath, and plain hypo fixer.
Results: The Crane's fell apart. It's out of the running.
The Rives and Platine are too rough for my taste (? try them later with a
gelatin first coat ?)
Surfactant problem, do you think?
Baryta paper. The worst cratering, but all the papers were affected. |
|
Magnified crop:
'peppering' as well as craters
The good news: the
image between the craters and pepper grains is really quite pretty. |
|
July 24 and 25, 2006 / Lot 1b
Changes:
-
Increased prime hardener to 7 drops.
-
changed prime surfactant to 2 drops Photo Flo 600.
-
Preheated granite in 200 degree oven, and kept it warm wrapped
in a baby quilt.
-
strained silvered gel through filter before adding to the 10% gel.
Papers: Arches HP, Fabriano Artistico, baryta, and
gelatin-sized Somerset Satin (my favorite surface for albumen printing)
Results:
-
Significant reduction in cratering.
-
Peppering reduced, but still unacceptable.
-
There might have been an increase in speed and grain size from
last time (when I made the coating melt from freshly prepared gel, rather than
re-melting gel that had been refrigerated.???)
-
The Somerset results were too grotesque to publish on the
internet, but worth pursuing. The emulsion that was evenly laid down has
a "depth" that the other coatings lack.
-
The Arches HP evenly mottled in the developer - the whole
sheet, not just the coated area This disappeared when the paper
dried, but it's out of the running for now.
Fabriano Artistico: I felt the coating blade grab as I
started. The paper fibers give the print the appearance of graininess
(like a too-big enlargement from 35mm TriX, but with the detail of a larger
format negative) ?artsy avenue? |
|
Baryta: I hadn't realized I was down to the dregs
and bubbles of the emulsion. I decided to go ahead anyway. Where it
coated well, it compares favorably with commercial paper. Needless to say,
the devil lives in "Coated Well". |
|
Closeup detail of the above print. |
|
July 30 - August 1, 2006 / Lots 1C and 1D
Lot 1C: Granite too hot (amazing how fast baryta paper can curl!)
Packed it in for some medicinal chocolate.
Lot 1D:
Changes: PhotoFlo 600: 6 drops. Change developer to ZonalPro
FactorOne (recommended dilution).
Papers: Baryta and Fabriano
Results: Surfactant problems resolved on Fabriano paper. No
craters. Almost perfect on baryta.
It's paper fork-in-the-road time. The Fabriano and baryta handle
differently and will need separate negatives with different characteristics.
The Fabriano paper looks like it has a much steeper curve with little
shoulder or toe. (Obviously, that's a first read.) It is
much more forgiving of emulsion defects, and the overall look is very
appealing, so I will come back to it after pursuing baryta for awhile.
Baryta: It looks like the pepper grains are changing over time
(?softening?) They didn't show on the Fabriano paper and on the baryta
they look like a smear rather than flecks.
Additionally, before I continue I will have to figure out how to keep the
granite at a consistent temperature. I tried a heating pad, but its
safety controls override the necessities of this job.
Fabriano |
|
| |
Baryta |
|
| |
500% detail of above print, showing smeared silver grains |
|
| |
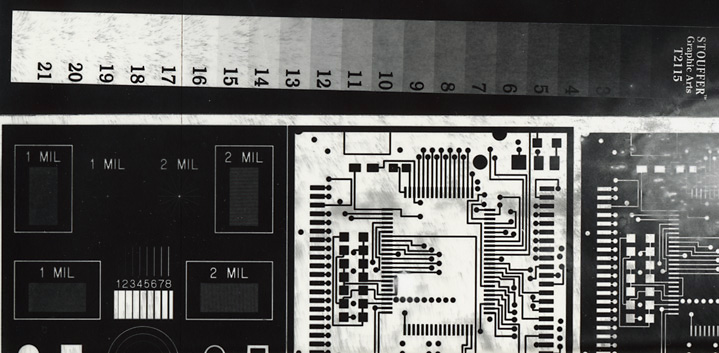
Baryta: Step tablet and resolution target at 200% |
|
| |
500% detail of above print |
|
Denise W Ross Photography