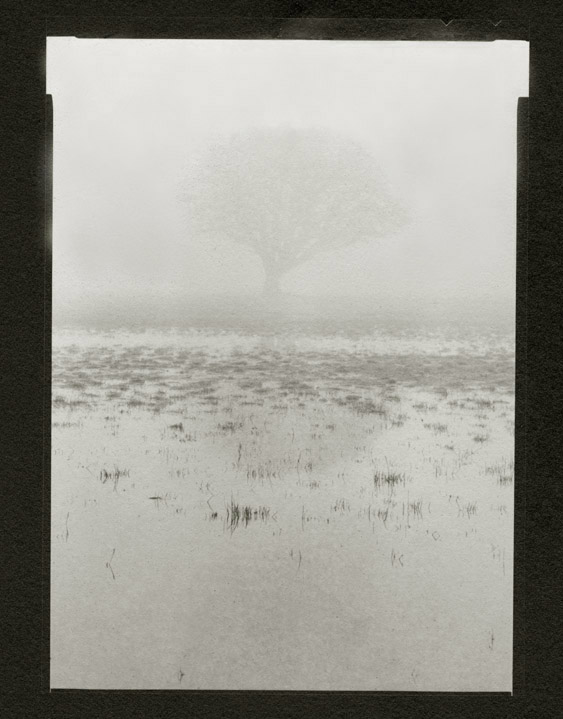
Digital negative on emulsion and Fabriano.
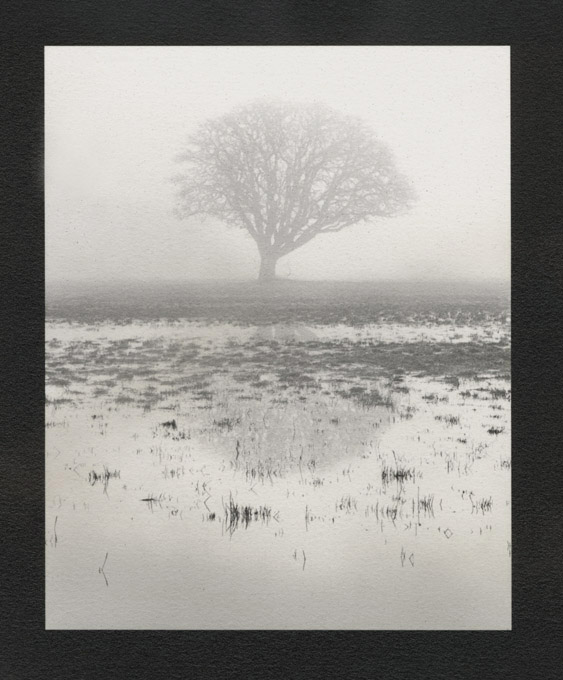
Digital negative on Ilford Multigrade IV VC glossy. The difference between the actual prints is very slight.
5x7 film negative on emulsion and Fabriano.
Digital Negatives
| Previous | Emulsion Home | Next |
January 2007
I decided it was high time to make use of the film scanner I bought before the Emulsion workshop last June. It has seemed like one-too-many new things to learn. But, I'm comfortable enough with emulsion making to give it a go. I've burned through a lot of Pictorico OHP but I'm happy with what I've come up with. I'd be insufferably pleased with myself if I hadn't bumped head-on into a 'humbler': In the last batch of emulsion (the "Yggdrasill" prints) I got peppering. Since I don't think I did anything different than I ever do, I'm baffled. I'm trying to pretend that I welcome the excuse to dig into a problem that seems to bedevil the silver gelatin-making biz. Peshaw!
Below are comparisons of various combinations of materials.
|
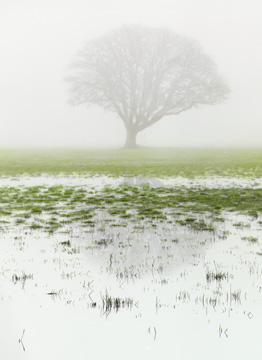
Digital negative on emulsion and Fabriano.
|
|
|
Digital negative on Ilford Multigrade IV VC glossy. The difference between the actual prints is very slight. |
|
|
5x7 film negative on emulsion and Fabriano. |
5x7 film negative on Ilford Multigrade IV VC glossy (contact printed). |
|
|
|
|
January 15, 2007
I think I'm having more luck scanning toothy paper. Resolution in the scanner at 720. Saved as psd. All tweaks done on the psd. Resized to 72 ppi and 8 bit mode, then saved as "high" quality jpeg.
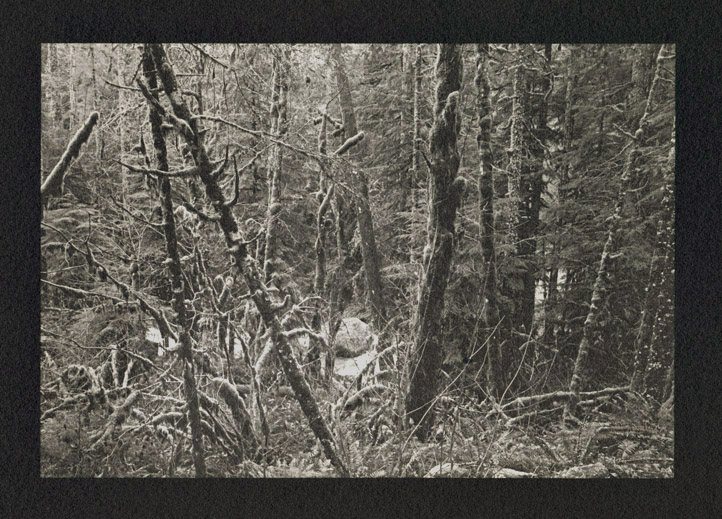 Along Hwy 20 in the Oregon Cascades. Image size 4.75 x 7 inches. Camera: Fuji 69 rangefinder w/ 65mm lens Digital negative: double layer/sheet technique similar to traditional unsharp and contrast control masking. Original negative: 120 TMax 100 developed in XTOL. Fabriano paper. HQ Warm Tone developer. Selenium toned. |
|
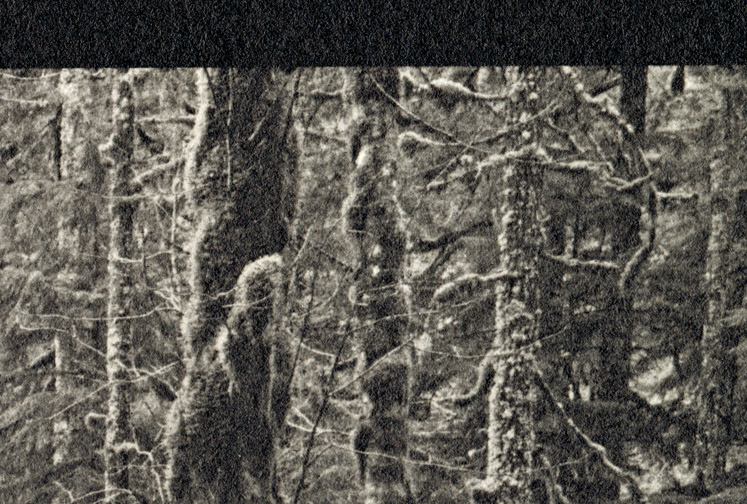 500% crop of above image (1.4 x 2 inch section) Note: USM of 20/100/0 followed by Curves to bring the contrast back down to match the original. |
January 21, 2007
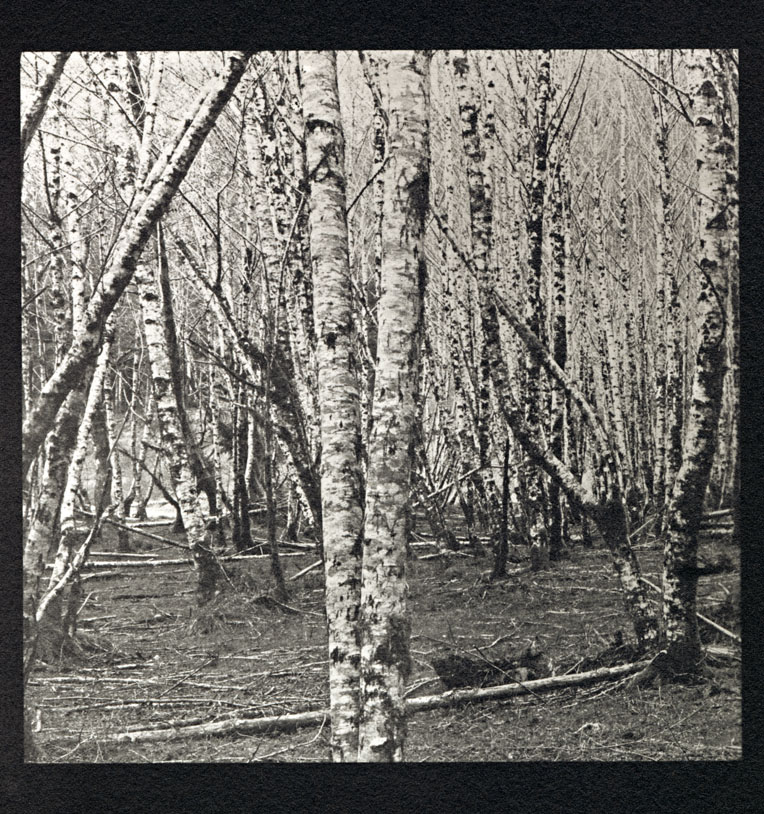
"Hoh Rainforest: Triptych #1" First panel. Digital negative from first third of 6 x 17 Tmax 100 negative. Camera: Fuji 617 w/ 90mm lens. Image size: 4.75 x 4.75 in. Fabriano x-white paper. HQ warm tone developer. Selenium toned. ********************* Info Note: Reproduction for website. Epson Expressions 1680 scanner: 720 ppi, 16-bit. Image and framing cropped out. Resized. Blue curve midpoint pulled to 120 (from 128). Gray Balance to '50'. In Photoshop 7: USM: 20/50/1. Color balance: +10 yellow / +10 magenta. Resized to 72ppi and 8-bit mode. |
| Previous | Emulsion Home | Next |
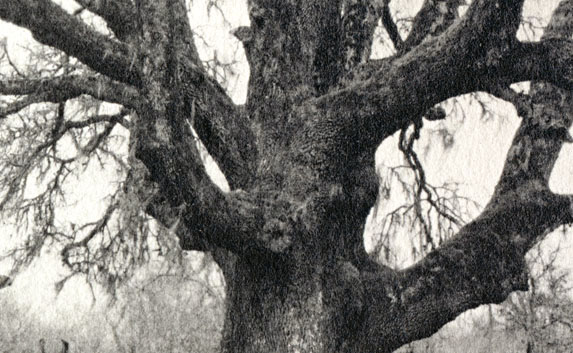
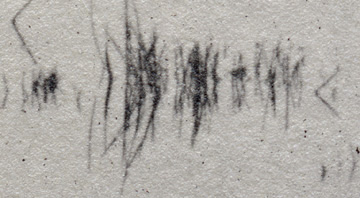 Crop from film negative print
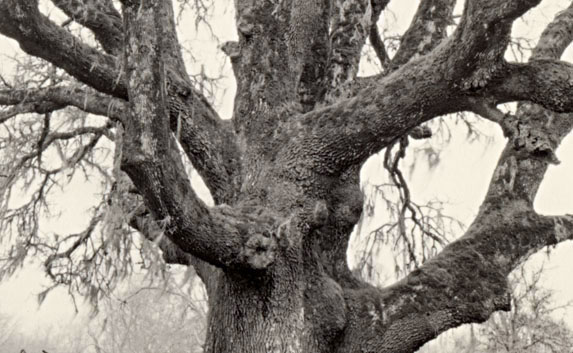
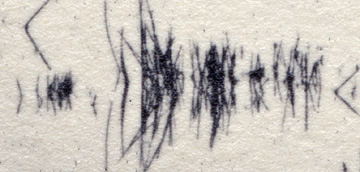 Crop from digital negative print.