Subbing Coats and Paper Prep
November 6-10, 2006
Sheesh, what a week - water,
water everywhere, politics, and I think I made Flubber. Biggest lesson
of the week - DO NOT mix glyoxal and magnesium carbonate. Actually,
it's pretty cool. I wrote down the recipe in case I ever need to make
my living as Ms. Wizard (or a party clown).
The real goal this week was to work on sub-coats so that the silvered
emulsion goes down as smoothly as possible. I'm still with the
Fabriano. I love the texture, but it swells as soon as it gets wet.
I tried: 1) a plain 15% gelatin with surfactant and hardener, 2)
15 % gel with the addition of China Clay (hydrated aluminum silicate) and
3) with the addition of acrylic gesso (acrylic medium with titanium white).
None was worth the extra work. A tactic that might work out is
to paint the 15% gel on the first 1-1/2 inch of the paper. It forms a
barrier so that the paper doesn't swell before the blade well is full and
ready to be pulled.
This coming week, I'll try pre-shrinking the paper, and also a couple of
different ideas for sub-coat addendums.
All printing done at 345 lux (under a 60W flood spot at 48 inches)
The negatives with a density range of 1.0 consistently printed at 6 sec.
Developer: ZonalPro Factor One at standard dilution.
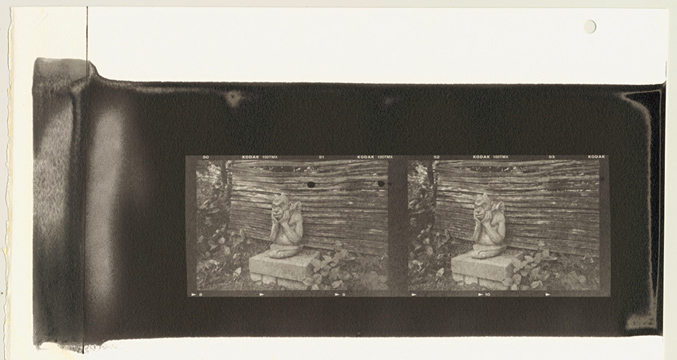
'Guardgoyle'
Fuji 69 Rangefinder, 90mm lens. 120 Tmax 100 in XTOL.
Density range: 0.5
11 x 6 in. paper, 4-1/4 inch wide emulsion path.
Note the 'starter edge' on the left. The paper still swelled
enough to skip at the beginning. It remains to be seen if this is
a result of technique or a problem inherent to absorbent papers.
I knew this sheet had a couple of emulsion boogers (extra thick blops
of sensitized gelatin) so I used it to test a negative that I was pretty
sure was too thin for this emulsion. Except for the black dots in
the left hand frame, this is a typical coating (for me, now, on Fabriano) |
|
|
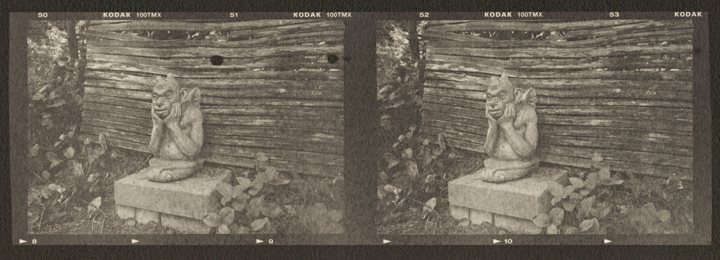
Just for fun - a stereographic set. Relax your eyes until you
see three frames. With luck, the 'middle' one will be 3D.
|
|
|
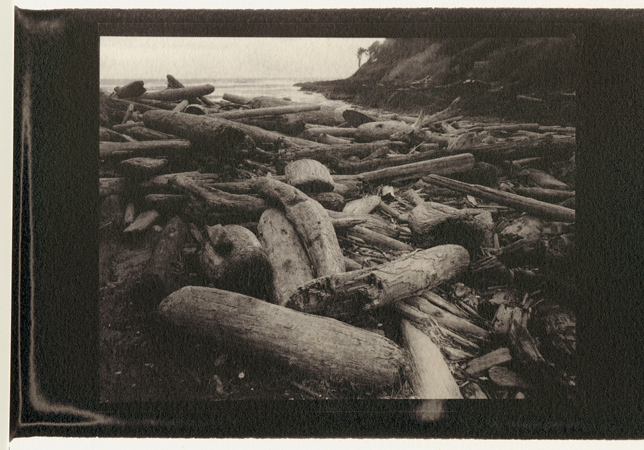
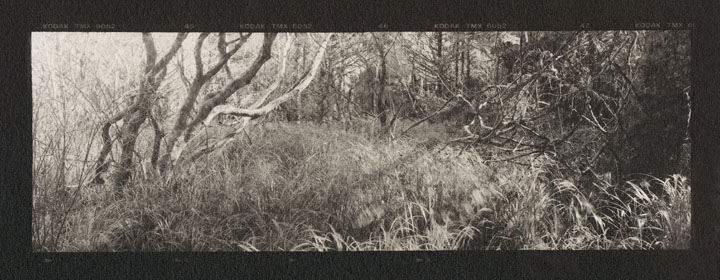
Cape Perpetua, Oregon
Speed Graphic, 75mm lens. 4x5 Tmax 100 in XTOL.
Density range: 1.3, excluding sky: 1.0.
It is my opinion that the "4x5" emulsion coating blade isn't wide
enough for a 4x5 inch negative. The well is only 4-1/4 in wide.
I have been finding that there is about a 1/4 inch edge of uneven
coating on both sides. Technically, if one wanted to mat right to
the edge of the image, you could hide the edge flaws. But, it is
my feeling that the process should be visible - at the very least, show
as much of the beautiful, velvety black border as possible. |
|
|
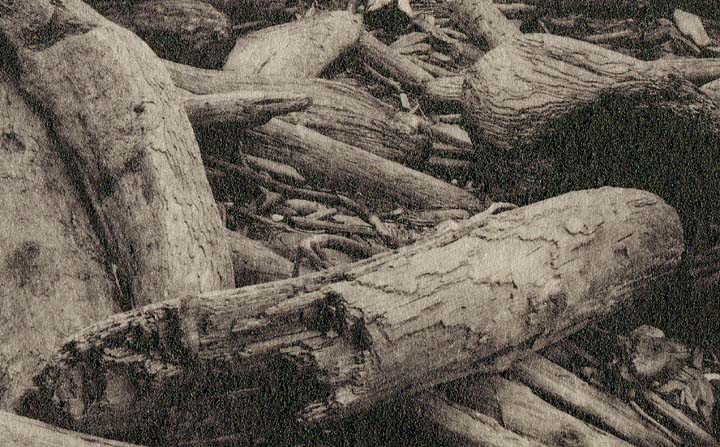
Enlarged crop of above. |
|
|
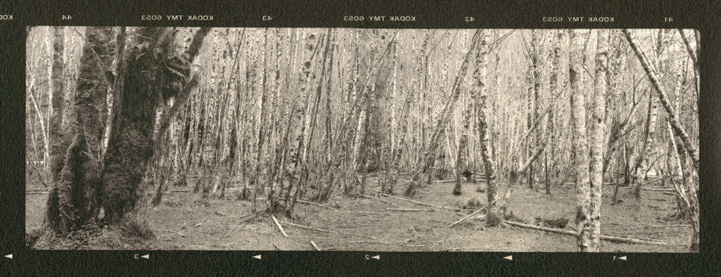
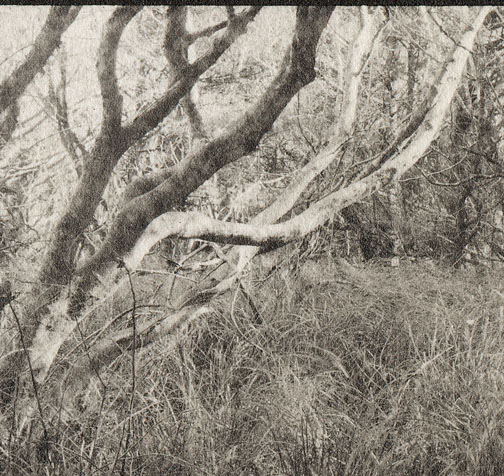
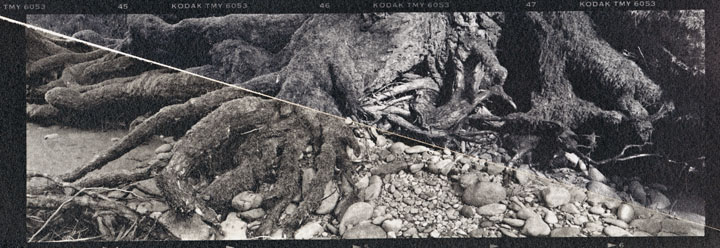
Hoh Rainforest, Olympic Penninsula, Washington
Fuji 617 Rangefinder, 90mm lens. 120 TMAX 100 in XTOL. Density
range: 1.0 |
|
|
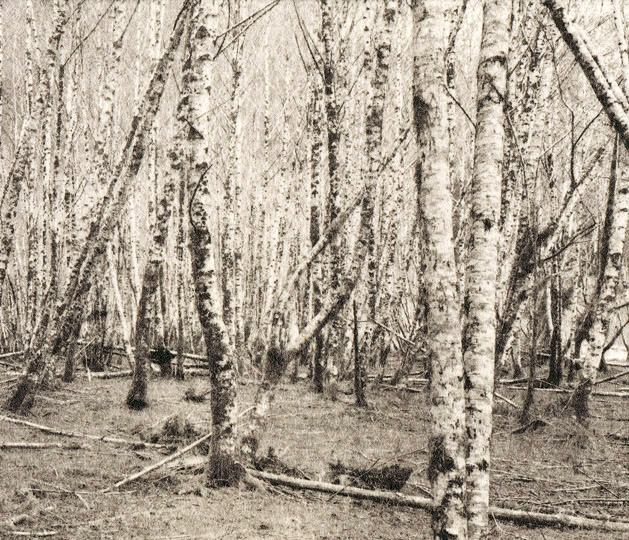
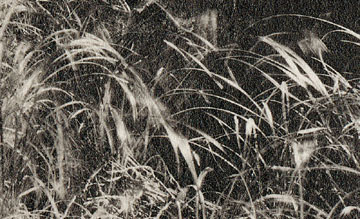
Enlarged crop of above. |
|
|
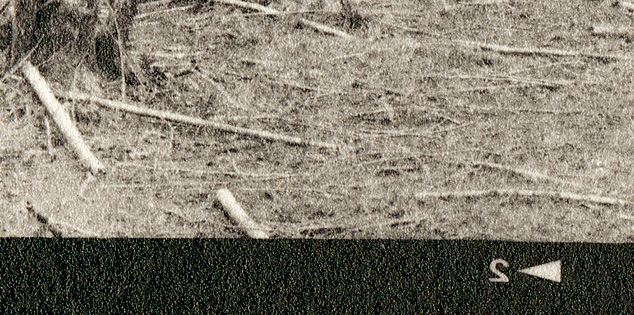
Proof positive that one should never return to the darkroom after
dinner with wine. |
|
November 29-30, 2006
I have rationalized a justification for owning the small coating blade,
even though I don't intend to normally coat as small as 4x5. It makes
R&D a little more affordable! I have tried a number of negatives with
different density ranges. With the emulsion I am currently using 1.0
seems best - basically, a negative that would print well on commercial paper.
I admit to having become spoiled by VC paper. I will either have to get
back to more rigorous negative creation or re-learn my old masking tricks.
Probably both. Or, the third option, computer tweaked digital
negatives. (An unbidden thought about "old dogs" comes to mind. Begone
damn Spot.)
The good news from this latest session was that I think I have Fabriano's
buckling problems under control. (knock on wood). The simplest solution
is so often the best - pre-shrinking the paper (120F for one minute), then flattening in a dry mount
press. In addition, I'm also watching the cupping direction of the
paper, rather than trying to maximize the cuts from a 22 x 30 sheet.
Looking at the paper, top side up, the paper should cup up from side to side.
This puts any swelling along the vertical axis and the emulsion spreads out
evenly. Caveat: I've only tried this with 6 inch wide paper.
Next session, I'll coat 10 inches wide. We'll see what happens.
Also, I think that the resolution of the print improved from the shrinking.
See comments with the resolution targets below.
Beverly Beach State Park, Central Oregon Coast.
Fuji 617, 90 mm. 120 TMAX 100,
TMAX developer.
ZonalPro HQ print developer |
|
|
Crops of above
 |
|
|
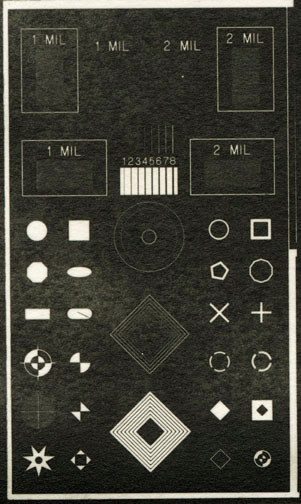
Resolution target scanned at 100% : 2.16 x 3.61 inches.
Pre-shrunk Fabriano, ZonalPro HQ |
|
 Enlarged crop, unsharpened Enlarged crop, unsharpened |
|
|
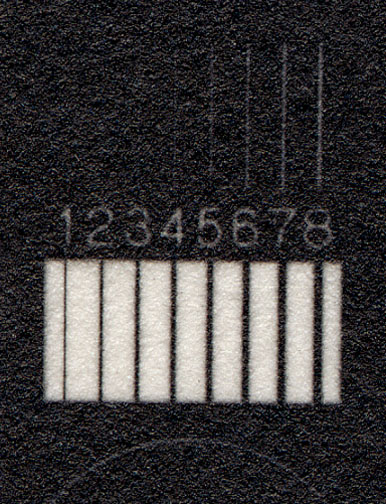
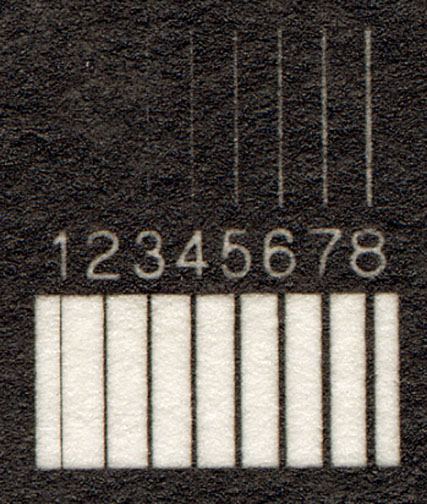
Same emulsion recipe. Fabriano paper, no pre-treatment.
ZonalPro Factor One developer.
Considerably lower resolution (or is it accutance? both? I never
have gotten that perfectly clear :-)
Is this a result of not pre-shrinking the paper, or is FactorOne a softer
developer? The cooler color is obvious. A question for
"The Developer Chapter". |
|
December 8, 2006
Tested three developers on the same run of emulsion and pre-shrunk Fabriano.
It looks like pre-shrinking the paper increases the sharpness of the image.
It's still not conclusive. The final appearance is also affected by the
coating quality. There's way too much variability there for my complete
satisfaction.
Dektol seems to be sharpest developer and nearly neutral black.
Factor One is the coolest, untoned. HQ's warmish tone goes almost blue
in 1:10 selenium.
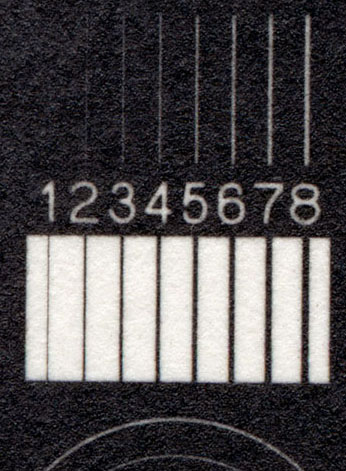
Pre-shrunk Fabriano, ZonalPro Factor One. Unsharpened.
|
|
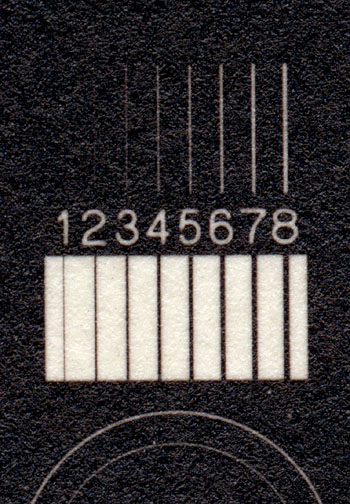
Pre-shrunk Fabriano, ZonalPro HQ. Unsharpened. |
|
Pre-shrunk Fabriano, Dektol. Unsharpened. |
|
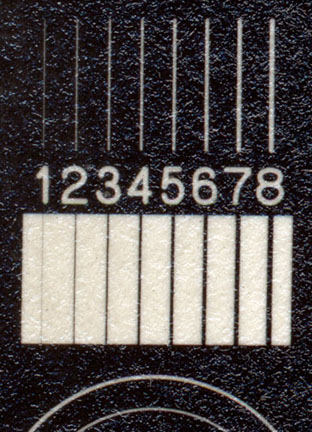
Pre-shrunk Fabriano, ZonalPro HQ.
Top half toned 1:10 selenium |
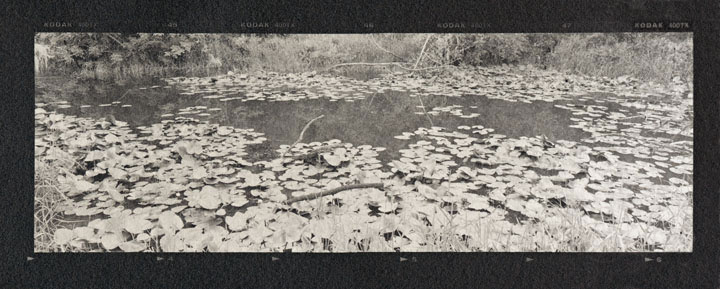
Tyee Beaver Pond, Willamette Valley, OregonDektol, untoned |
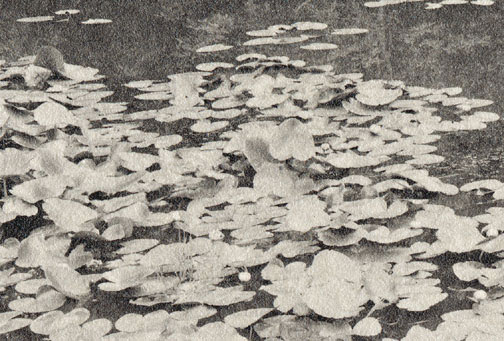
Crop of above |
|
Denise W Ross Photography